 Here is a recipe for a great loaf of white bread! The flour mix is from our local co-op and consists of the following ingredients. The combination of these flours and ingredients make this bread so great! [ Pre Mixed: Constarch, Tapioca Flour, White Rice Flour, Brown Rice Flour, Milk Powder, Potato Starch and Xanthum Gum] Ingredients 3 1/2 Cups Gluten Free All Purpose Flour Mix (As described above) 1/3 Cup Canola Oil 2 Eggs Packet of Yeast Water (As Per instructions below) Use a HEAVY DUTY STAND MIXER and a WHISK ATTACHEMENT. DO NOT USE BREAD HOOK. Start off with making the yeast according to packet instructions. It takes 10 minutes to dissolve in warm water. In a 2 cup measuring cup pour in 1/3 cup oil, crack in 2 eggs then fill with warm water to 2 cups plus add 2 Tablespoons of water. Add the flour, liquids in measuring cup and the yeast all together in the mixer bowl and mix on medium/high for 3 minutes. Pour batter into a lightly greased 8x4 bread pan and let rise for 1 hour. It may not rise as much as you think it should but it will continue to rise in the oven! I mean look at that beast of a loaf! Preheat oven to 350 and bake for 60-70 minutes. (I baked mine for exactly 60 minutes) Let stand 10 minutes before removing.) Bread should be very soft and fluffy. I wrap mine in a 100% cotton dish cloth and set on counter. Because this bread does not have preservatives it will not last long. We typically finish this loaf off in 4 days and it stays nice that long. If you don't think you'll finish it in 4 days I would freeze it! 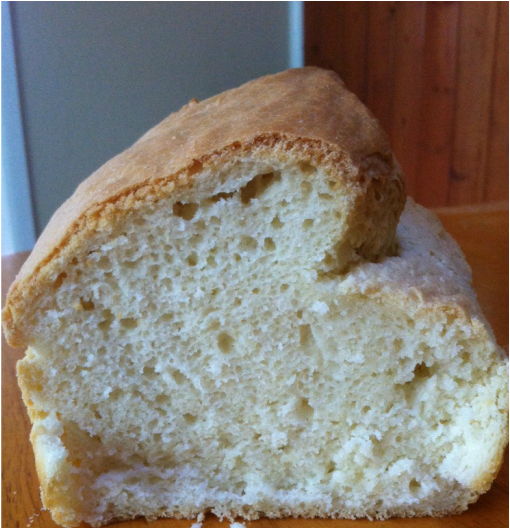
0 Comments
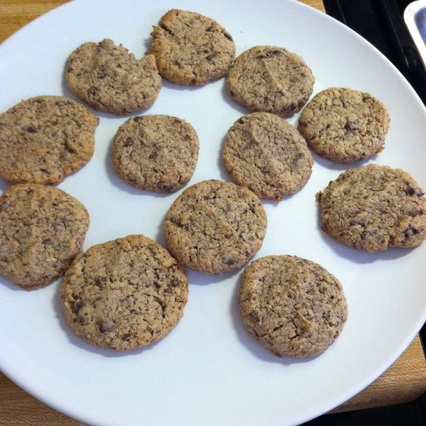 Check out this great recipe on the Minimalist_ Baker blog! If you are looking for a good deal on Almond Meal I recommend buying in bulk rather than Bob's Red Mill which runs about $13.00 for 16oz!!! In bulk I paid $5.00 for 16oz.
These cookies are very soft and chewy. They stay moist even the next day! On our honeymoon, Mark asked about a gazillion people if they had pan de coco, if they ever heard of it, how they have it in Honduras and why can't he find it in the Dominican.... When you grow up in another country you have your favorites that can be hard to find here. For me it's coxhinhas, pastels, pao de queijo, goiabinhas... I've got a huge list! It's such a treat when I am able to find the recipes and make the stuff here. So, I found a few Pan de Coco recipes on Pinterest and this is my first attempt at a gluten free version. 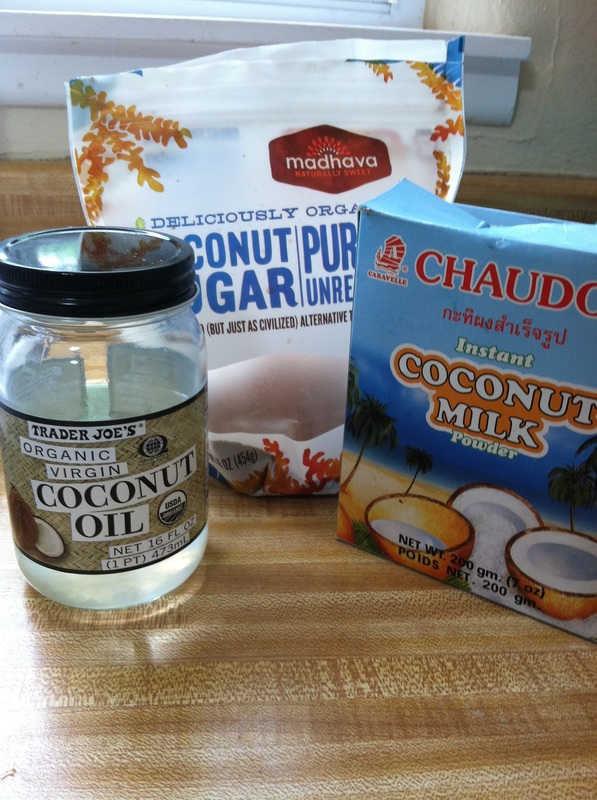 These are the coconut products I used for this recipe. Since we had powdered coconut milk, I decided to try it instead of the canned coconut milk. (Side Note: I found out that canned coconut milk is NOT lined with BPA at Trader Joe's. Typically it's the more acidic products that are.) The coconut sugar will make the bread darker. So if you choose to use a different or lighter coconut sugar, it will affect the color of the bread. Prep time is super fast and easy! 3 1/2 Cups All Purpose Gluten Free Flour or Pamela's Bread Mix 1/4 Cup Coconut Oil 3/4 Cup Warm Coconut Milk 3 Large Eggs 1/4 Cup Coconut Sugar ( This is not Palm Sugar. It's actual Coconut Sugar. There is a difference) 1 Yeast Packet (Dissolved according to the directions on packet) Combine the ingredients in a heavy duty mixer and mix on medium high for 3 minutes using the whisk attachment. Pour the dough into a lightly greased 8'x4' bread pan and let it rise for 1 hour. Bake at 350* for 60-70 minutes. Let cool for at least 10 minutes. Baking times may vary depending on oven.
 Enjoy!!
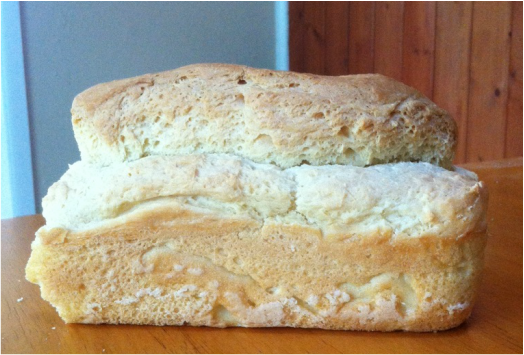
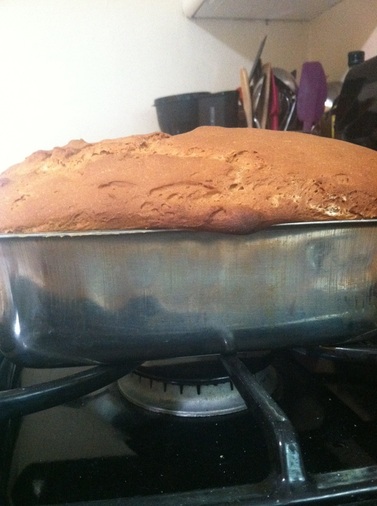
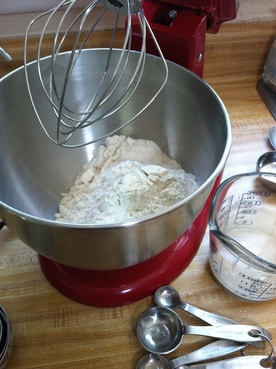
This is my second attempt at making gluten free loaf bread and it turned out great! The first recipe I used was from Bob's Red Mill All Purpose Gluten Free Flour. It turned out pretty good but I had a hard time getting the middle of the loaf done in the amount of time that was suggested. The top browned very quickly and I didn't want it to burn so I took it out and noticed the middle was a bit gooey. Today I tried it with Pamela's Bread Mix. The flour consists of the following ingredients: Sorghum flour, Tapioca Flour, White Rice Flour, Sweet Rice Flour, Brown Rice Flour, Naturally evaporated cane sugar, Inulin, Rice Bran, Sea Salt and Xanthun Gum. I was able to get a 4 lb. bag of it at Sprout's for $15.00. This mix does not require you to add Xanthun Gum but you DO need to add the yeast according the the directions on the yeast package. (Dissolve the packet of yeast in warm water for 10 minutes before adding to the mix) 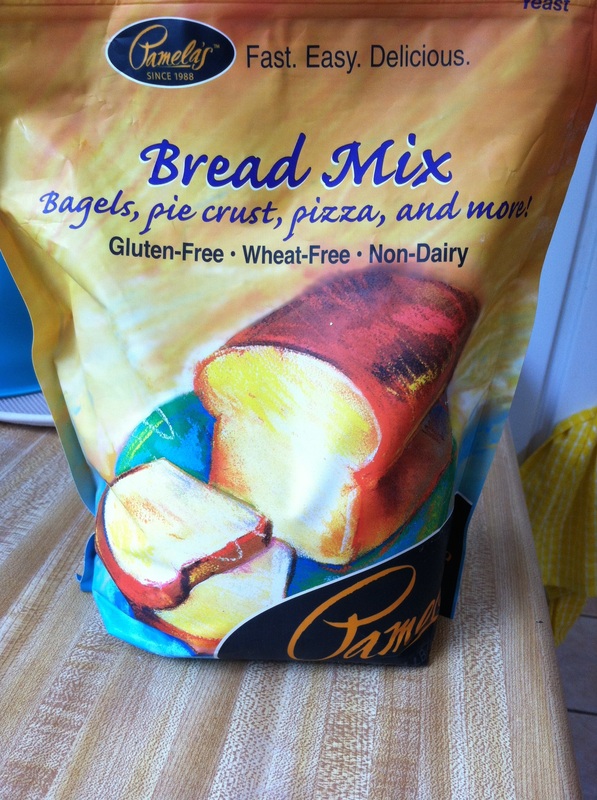 The recipe on the back of the bag is as follows. 3. 1/2 Cups Pamela's Bread Mix 1/3 Cup Oil 2 Large Eggs 1 Yeast Packet added per instructions on the Yeast Packet Per Pamela's Recipe (www.pamelasproducts.com) Use a HEAVY DUTY STAND MIXER with a WHISK ATTACHMENT. Do not use bread hooks. ( I am not sure why but from what I have learned so far in baking with gluten free flour, it has a different consistency and is very sticky. The whisk most likely blends it much better so it's not so gritty as some gluten free products can be.  In a 2 Cup liquid measuring cup, measure 1/3 cup oil, crack in 2 eggs, then fill with warm water up to 2 cups of liquid, PLUS add 2 TBSP of additional water. Add to dry mix and yeast then bead with stand mixer for 3 minutes on med/high. 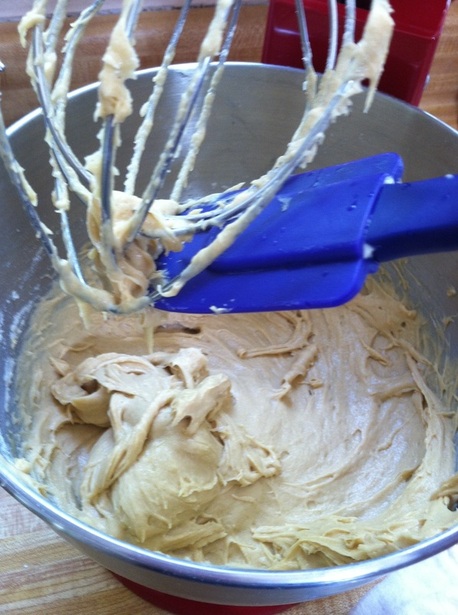 Pour into a lightly greased 8"x4" bread pan and let dough rise for 1 hour. If dough does not rise, it will in the oven. 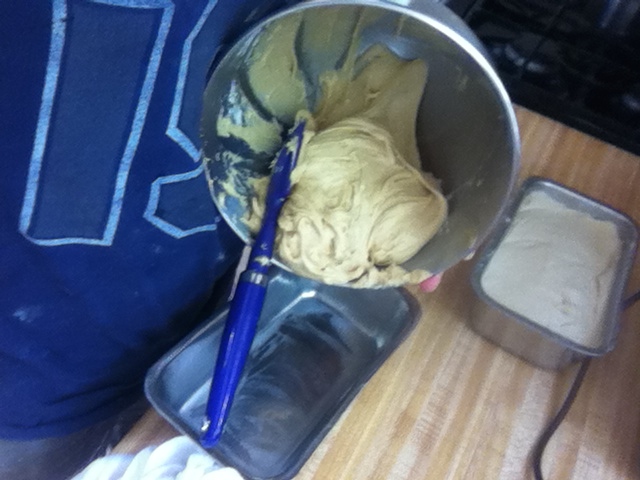 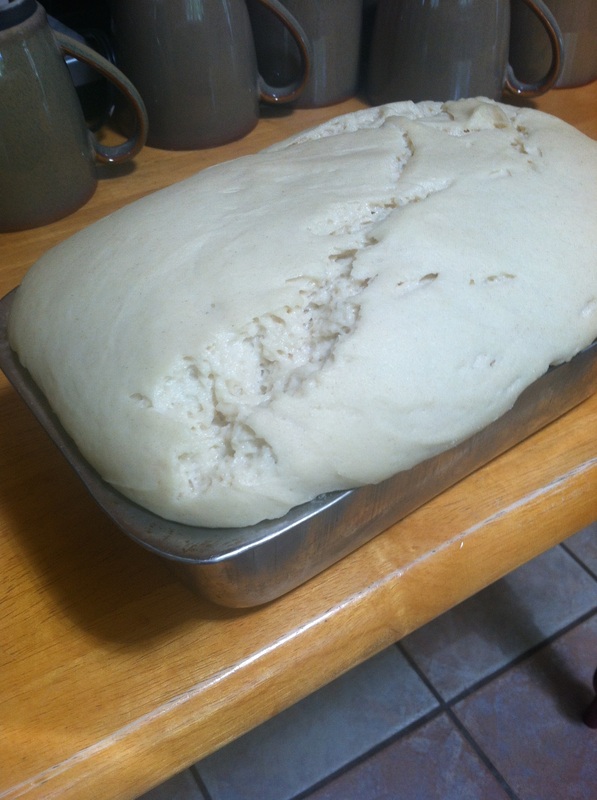 This is the loaf after an hour of letting it rest before baking. Preheat oven to 350* and bake for 60-70 minutes. Let stand for 10 minutes then carefully remove to a cooling rack. 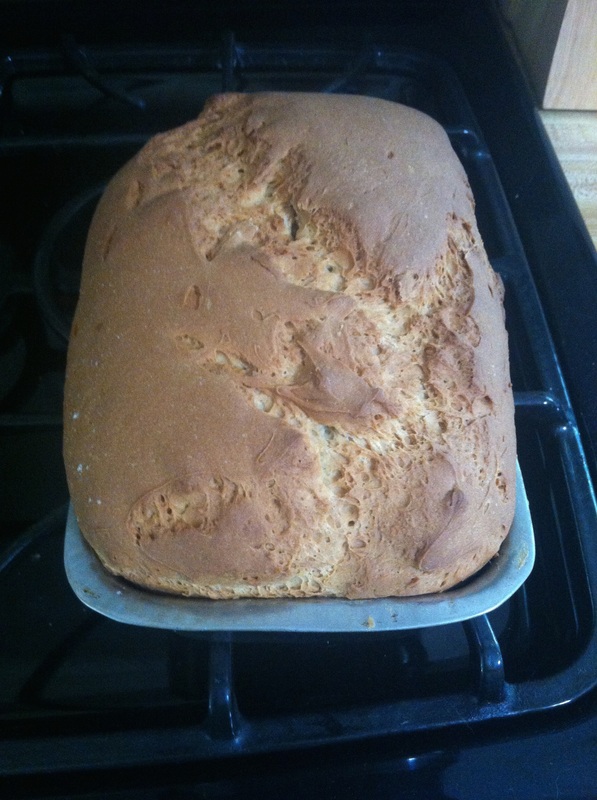  This bread is a bit on the sweeter side. There are different kinds of flour you can buy with varying substitutes. So if this one is not the flavor you are looking for, there are many to choose from. What I liked about this bread is that the consistency is amazing; it's soft and fluffy.
Rumor has it that one of the best ways to store fresh homemade bread is in a cloth bag. I currently have my bread covered in a cotton sack cloth. If the bread is not eaten within two days I recommend freezing it. With no preservatives, it will not last long on the counter! And if you want more info on storing your gluten free loafs, I found a great link that is very helpful! Check it out at 1840Farm. My first attempt at making scones from scratch today! I found the recipe here but made a few modifications. The recipe calls for 1/3 cup milk and 1/3 cup sugar. I simply replaced the milk with Light Coconut Milk (Trader Joe's) and the sugar with Coconut Sugar. 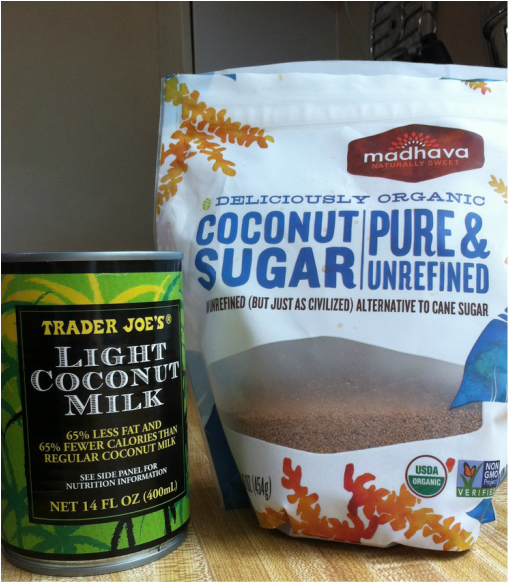 Recipe: With Modified Ingredients * 1 3/4 cups Gluten-Free Multi-Purpose Flour * scant 1/3 Organic Coconut Sugar * 2 teaspoons baking powder * 1/2 teaspoon xanthan gum * 1/2 teaspoon salt * 1/2 cup (1 stick) cold butter * 3/4 cup additions Fresh Apricots, Chocolate chips, fresh cherries, ( or suggested: dried cherries, crystallized ginger, fresh blueberries, cinnamon chips or white chocolate chips) * 2 large eggs * 1/3 cup Light Coconut Milk * 1 teaspoon gluten-free vanilla extract 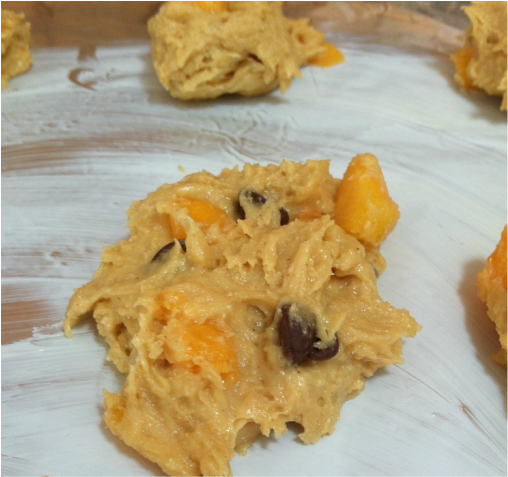 Preparation (click for original site) Preheat the oven to 400°F. Grease a large baking sheet (or line with parchment). Whisk together flour, sugar, baking powder, xanthan gum and salt. Work in the cold butter until the mixture is crumbly with pea-sized or just larger bits of butter remaining. Gently stir in the additions. Whisk together the eggs, milk, and vanilla until frothy.Add to the dry ingredients, stirring until well blended. The dough should be cohesive and very sticky. THIS DID NOT WORK FOR ME: Place on a gf floured surface. Pat out to about 1 in. thick (do not attempt to roll out - the dough will be too sticky for this and adding more flour will only create a dry, dense, result) . Use a biscuit cutter to cut into circles and place onto prepared pan. Lightly brush milk on top of the scones and sprinkle with sparkling sugar if desired. Place baking sheet, uncovered, in the freezer for 15 minutes. Bake for 15 to 20 minutes or until golden brown. Remove from the oven and let rest for 5 minutes before serving. The recipe suggests patting the dough out on a table but that did not work out for me. My dough was way too sticky. I'm not sure if it was the coconut milk that did it but it was pointless for me to try it and to then cut out the scones with a round cutter. So I spooned the batter into 'globs' on the greased pan (above photo), placed them in the freezer for the 15 minutes then baked according to the directions and they turned out great. 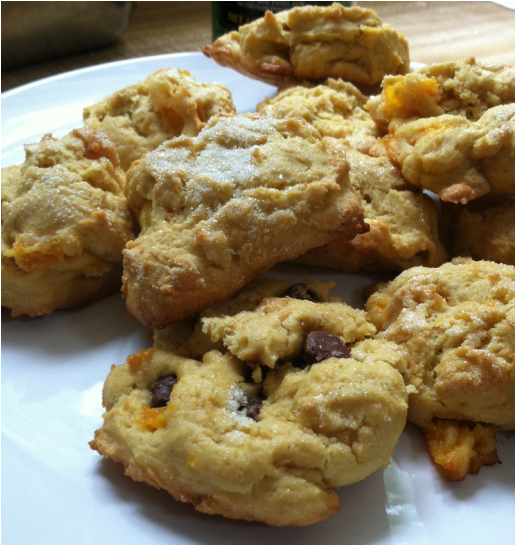  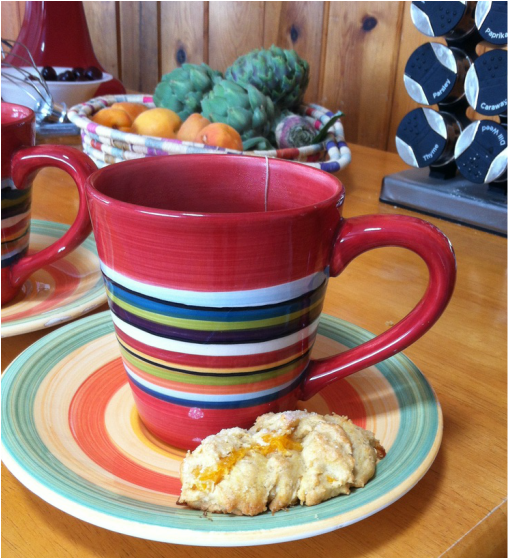 I stumbled across this great blog today! One Good Thing by Jilee 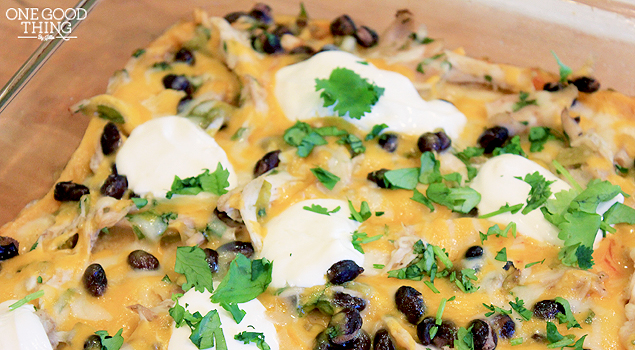
Click the link for some amazing looking recipes! I can't wait to try them!
|
Archives
August 2014
Categories
All
|

 RSS Feed
