|
On our honeymoon, Mark asked about a gazillion people if they had pan de coco, if they ever heard of it, how they have it in Honduras and why can't he find it in the Dominican.... When you grow up in another country you have your favorites that can be hard to find here. For me it's coxhinhas, pastels, pao de queijo, goiabinhas... I've got a huge list! It's such a treat when I am able to find the recipes and make the stuff here. So, I found a few Pan de Coco recipes on Pinterest and this is my first attempt at a gluten free version. 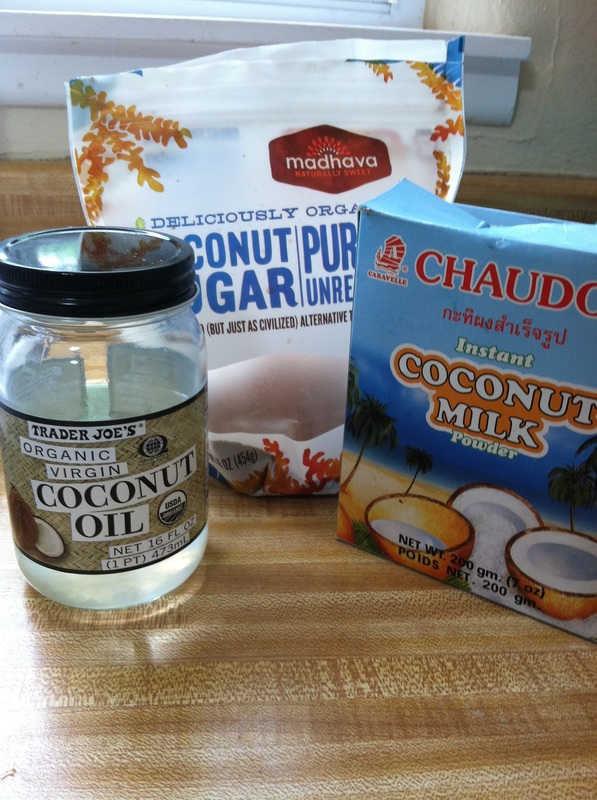 These are the coconut products I used for this recipe. Since we had powdered coconut milk, I decided to try it instead of the canned coconut milk. (Side Note: I found out that canned coconut milk is NOT lined with BPA at Trader Joe's. Typically it's the more acidic products that are.) The coconut sugar will make the bread darker. So if you choose to use a different or lighter coconut sugar, it will affect the color of the bread. Prep time is super fast and easy! 3 1/2 Cups All Purpose Gluten Free Flour or Pamela's Bread Mix 1/4 Cup Coconut Oil 3/4 Cup Warm Coconut Milk 3 Large Eggs 1/4 Cup Coconut Sugar ( This is not Palm Sugar. It's actual Coconut Sugar. There is a difference) 1 Yeast Packet (Dissolved according to the directions on packet) Combine the ingredients in a heavy duty mixer and mix on medium high for 3 minutes using the whisk attachment. Pour the dough into a lightly greased 8'x4' bread pan and let it rise for 1 hour. Bake at 350* for 60-70 minutes. Let cool for at least 10 minutes. Baking times may vary depending on oven.
 Enjoy!!
0 Comments
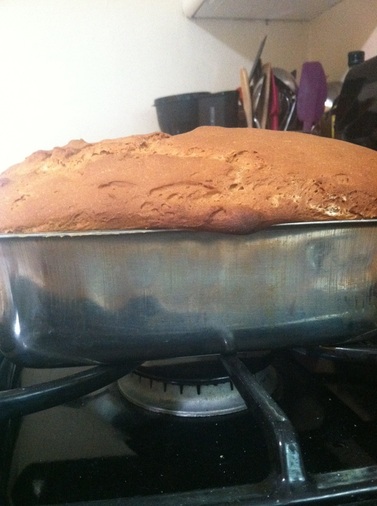
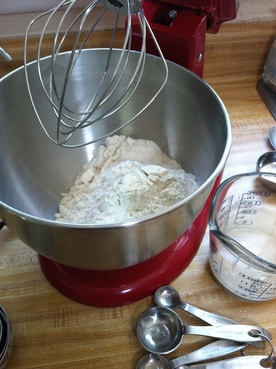
This is my second attempt at making gluten free loaf bread and it turned out great! The first recipe I used was from Bob's Red Mill All Purpose Gluten Free Flour. It turned out pretty good but I had a hard time getting the middle of the loaf done in the amount of time that was suggested. The top browned very quickly and I didn't want it to burn so I took it out and noticed the middle was a bit gooey. Today I tried it with Pamela's Bread Mix. The flour consists of the following ingredients: Sorghum flour, Tapioca Flour, White Rice Flour, Sweet Rice Flour, Brown Rice Flour, Naturally evaporated cane sugar, Inulin, Rice Bran, Sea Salt and Xanthun Gum. I was able to get a 4 lb. bag of it at Sprout's for $15.00. This mix does not require you to add Xanthun Gum but you DO need to add the yeast according the the directions on the yeast package. (Dissolve the packet of yeast in warm water for 10 minutes before adding to the mix) 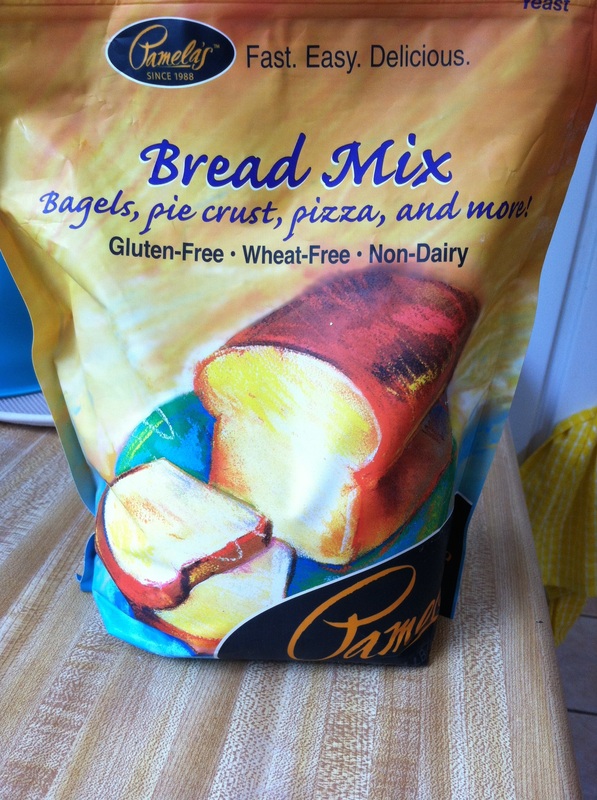 The recipe on the back of the bag is as follows. 3. 1/2 Cups Pamela's Bread Mix 1/3 Cup Oil 2 Large Eggs 1 Yeast Packet added per instructions on the Yeast Packet Per Pamela's Recipe (www.pamelasproducts.com) Use a HEAVY DUTY STAND MIXER with a WHISK ATTACHMENT. Do not use bread hooks. ( I am not sure why but from what I have learned so far in baking with gluten free flour, it has a different consistency and is very sticky. The whisk most likely blends it much better so it's not so gritty as some gluten free products can be.  In a 2 Cup liquid measuring cup, measure 1/3 cup oil, crack in 2 eggs, then fill with warm water up to 2 cups of liquid, PLUS add 2 TBSP of additional water. Add to dry mix and yeast then bead with stand mixer for 3 minutes on med/high. 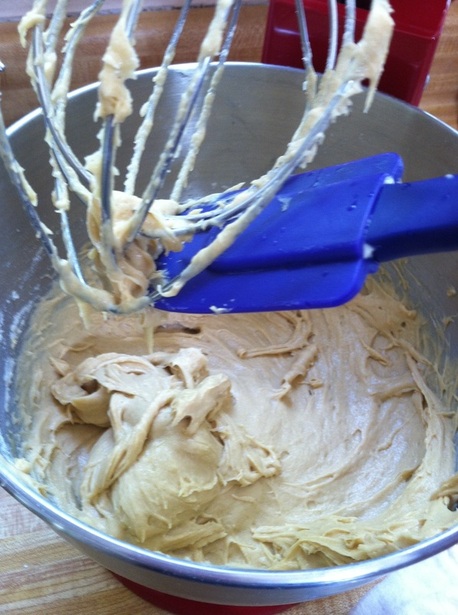 Pour into a lightly greased 8"x4" bread pan and let dough rise for 1 hour. If dough does not rise, it will in the oven. 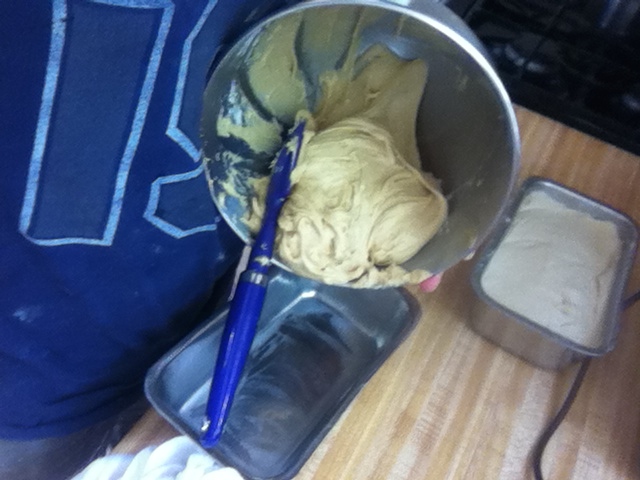 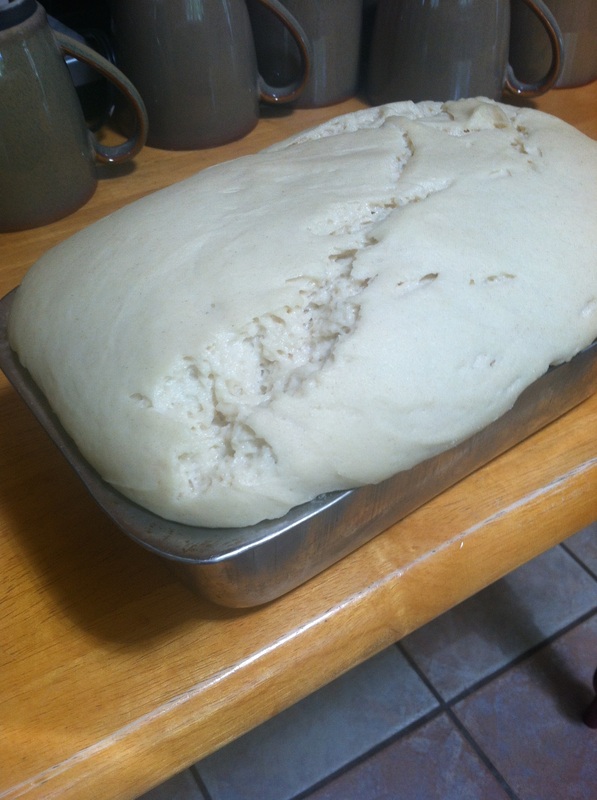 This is the loaf after an hour of letting it rest before baking. Preheat oven to 350* and bake for 60-70 minutes. Let stand for 10 minutes then carefully remove to a cooling rack. 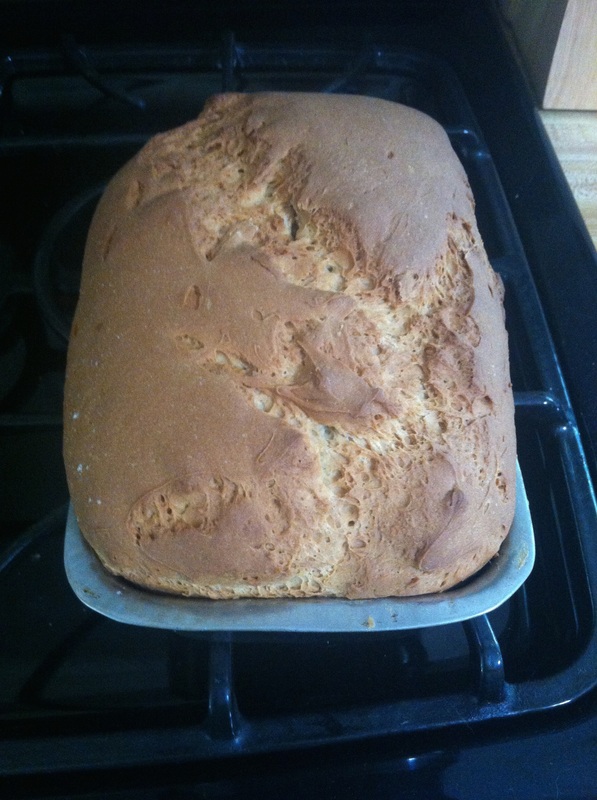  This bread is a bit on the sweeter side. There are different kinds of flour you can buy with varying substitutes. So if this one is not the flavor you are looking for, there are many to choose from. What I liked about this bread is that the consistency is amazing; it's soft and fluffy.
Rumor has it that one of the best ways to store fresh homemade bread is in a cloth bag. I currently have my bread covered in a cotton sack cloth. If the bread is not eaten within two days I recommend freezing it. With no preservatives, it will not last long on the counter! And if you want more info on storing your gluten free loafs, I found a great link that is very helpful! Check it out at 1840Farm. |
Archives
August 2014
Categories
All
|

 RSS Feed
